Installation and activation of a new Software license
This page offers a comprehensive guide detailing the step-by-step process for installing and activating a new standalone software license. We strongly recommend following each step carefully for the best possible experience.
Installation Steps:
- Step 1. Download the program using the links provided by email
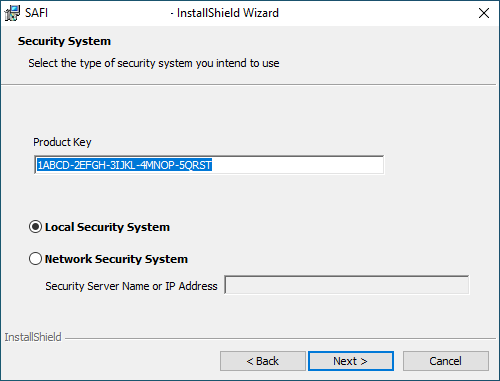
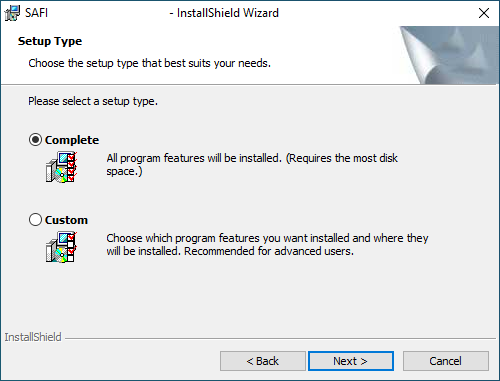
- Step 2. Enter your product key in the InstallShield Wizard during installation
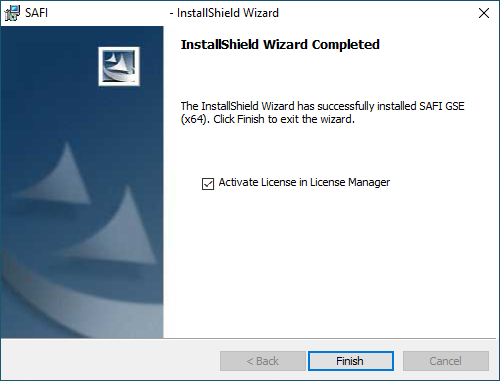
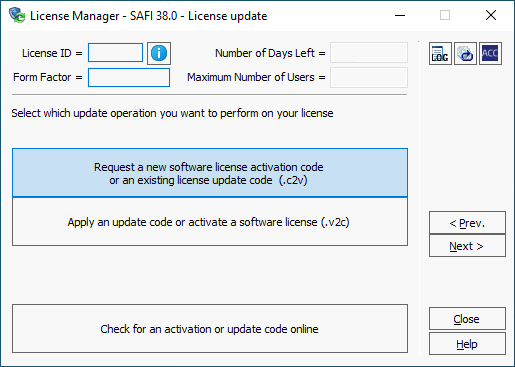
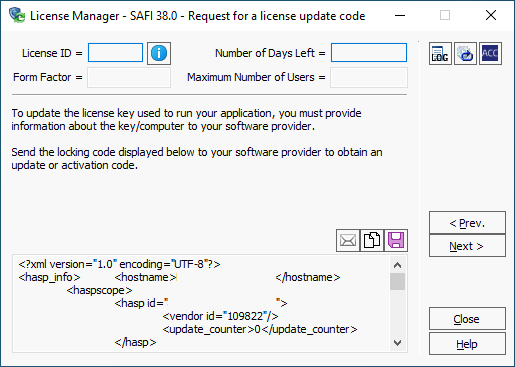
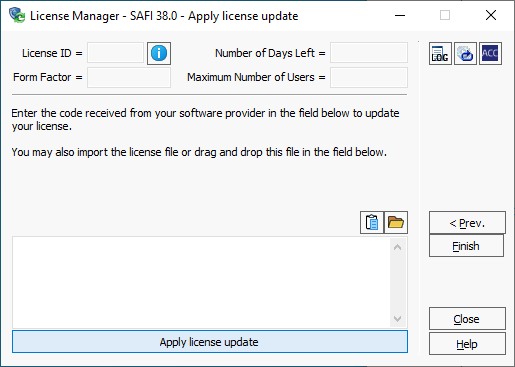
- Step 3. Activate your license in the License Manager